Your basket is currently empty!
Fixing Metal Slimline Posts Into Ground
Step by step installation guide
Step 1
Use a string to provide a guide for the position of the posts.
Mark out & dig the holes for the slimline metal posts. We recommend a hole 200mm circumference by 600mm depth.
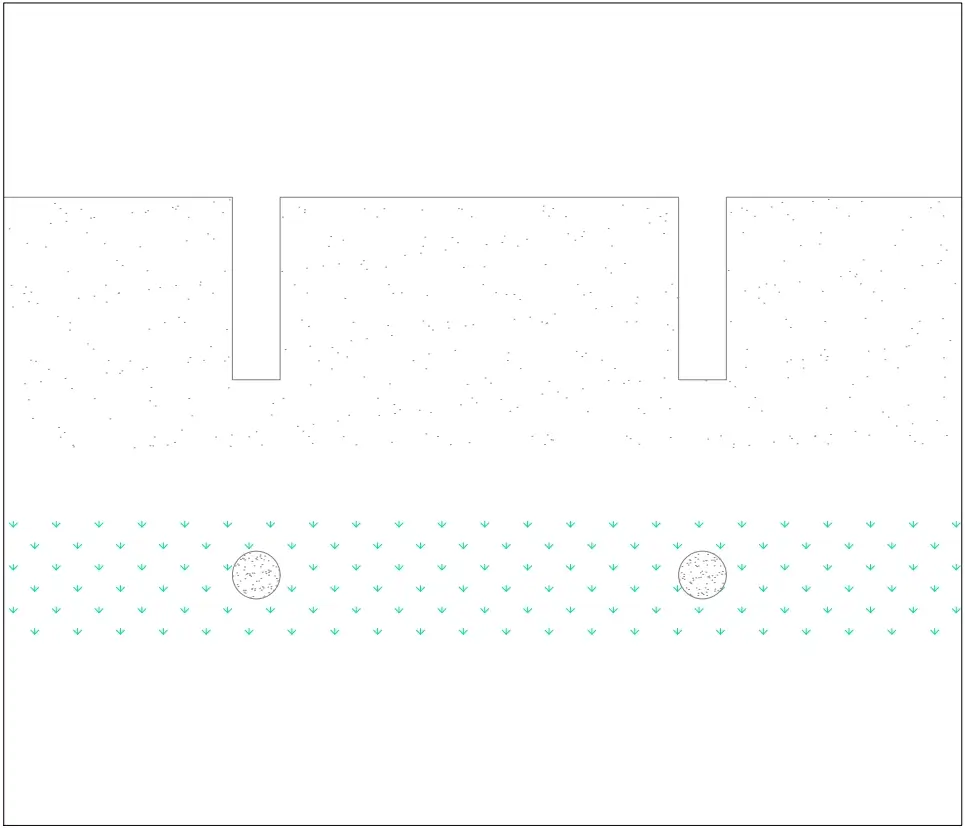
Step 2
Insert post. Use spirit level to ensure it is level in both directions & correctly positioned against the string line. Posts need to be set at the correct width.
Step 3
Fill the hole with post mix (use manufacturer’s instructions). Adjust post into position and support until post mix sets.
Step 4
Please check that tops of each post are at a uniform height, unless there is a change in heights required.
Step 5
Repeat steps 2-4 as needed. Use a spirit level to check each post is at correct height for panels.
Step 6
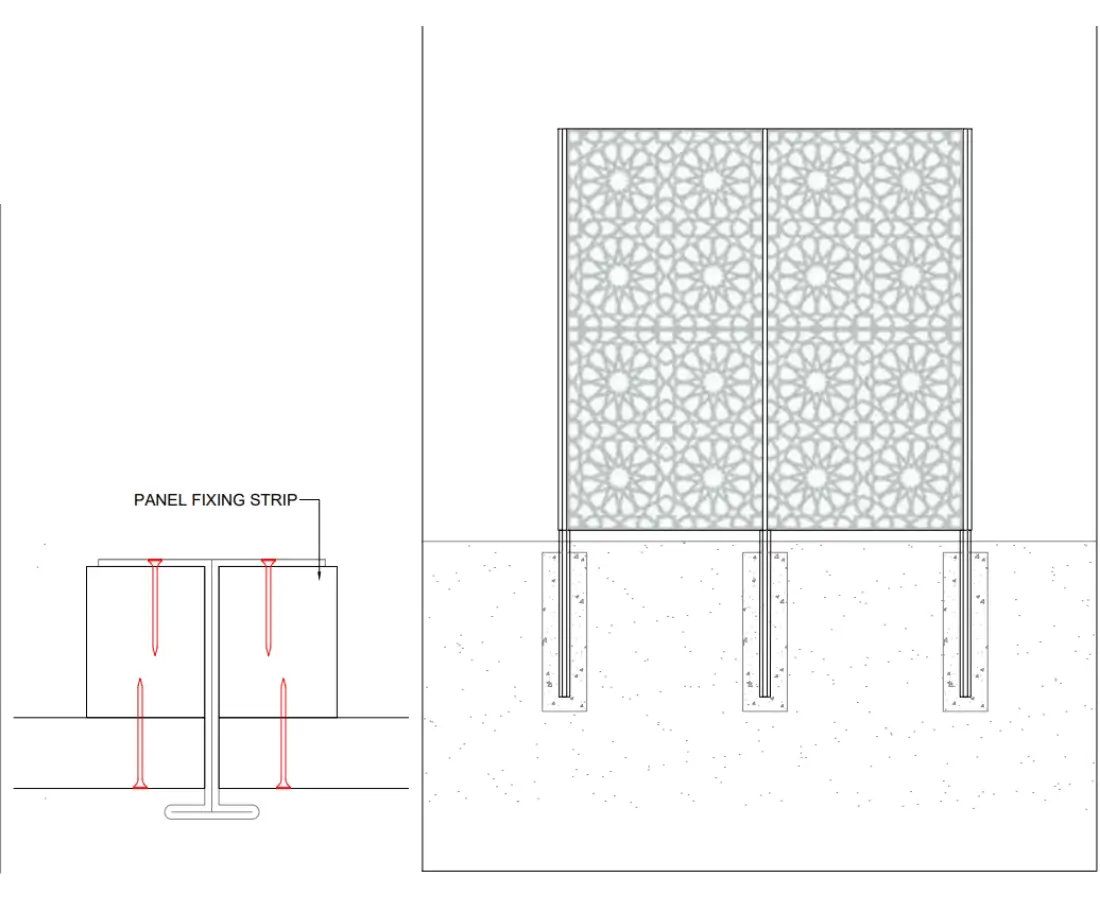
Screw panels into posts:
PANELS BETWEEN POSTS
**Fixing strips required**
Screw fixing strips to the back edge of the posts from behind,
Screw panels into fixing strip from the front using 4.5mm x 50mm steel screws (minimum of 3 per side)
Ensure the top of each panel is level.
Optional:
End strips of timber can be purchased to finish off the scheme
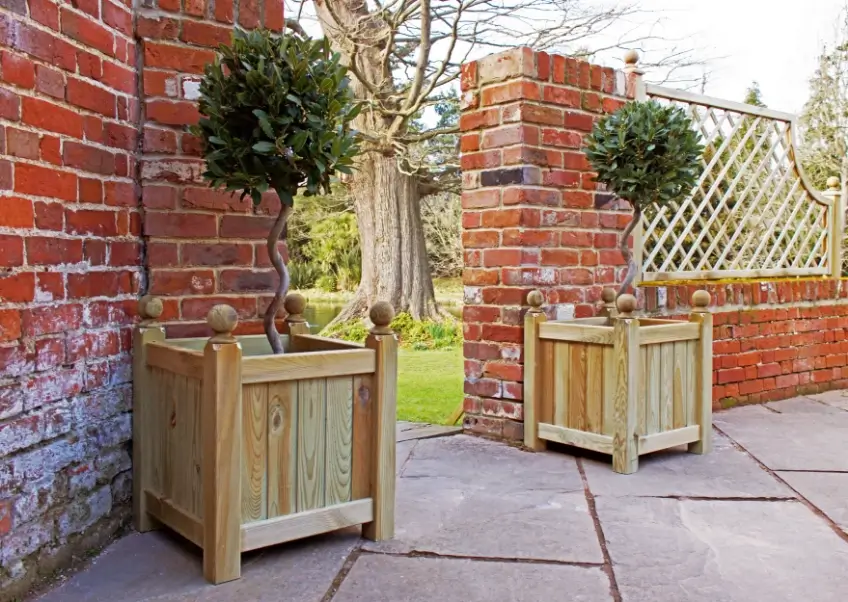
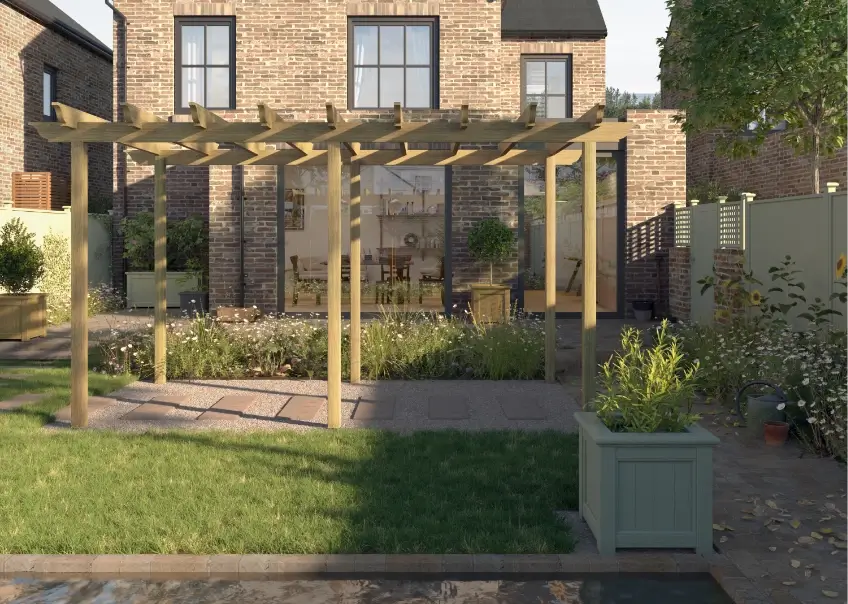
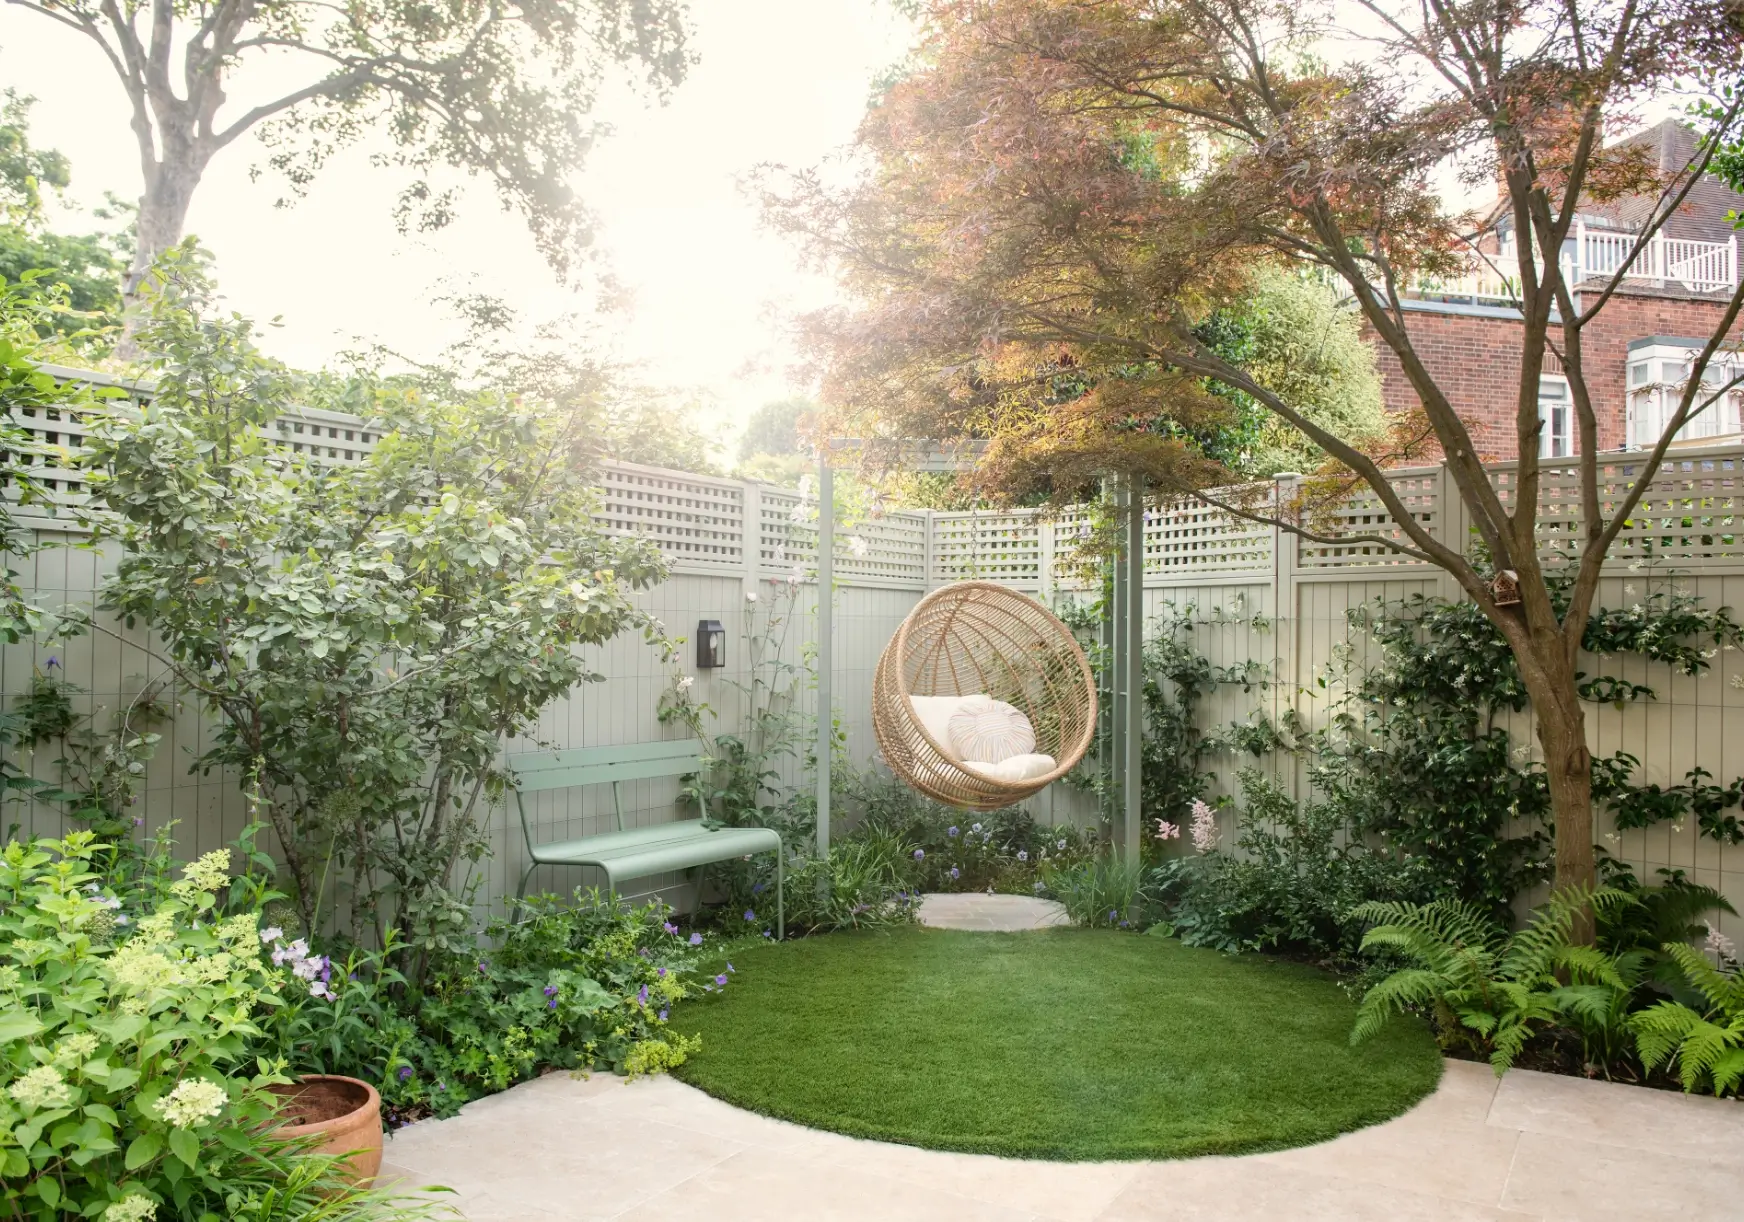
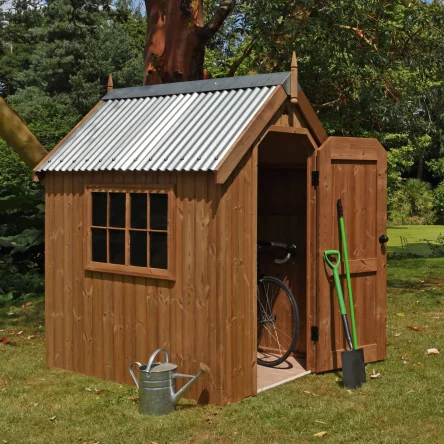
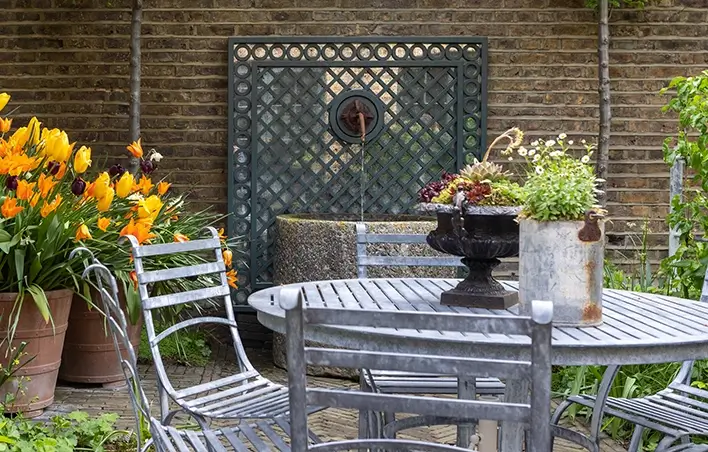
Giving you ideas and inspiration
Make a statement with our elegant garden trellis designs
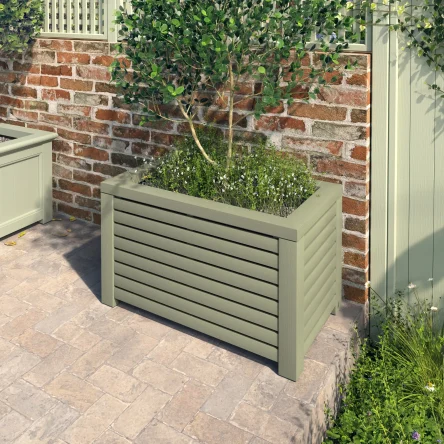
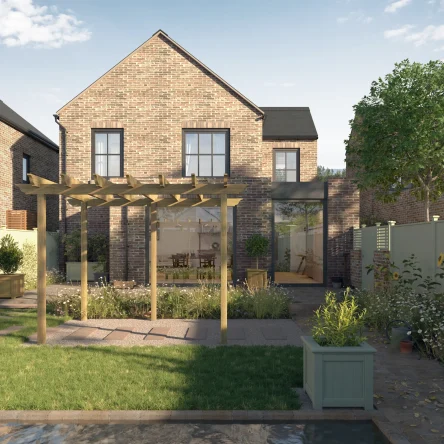
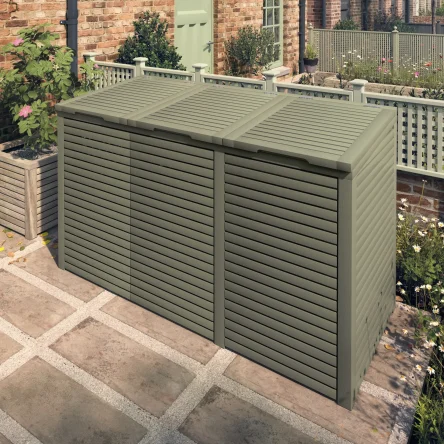
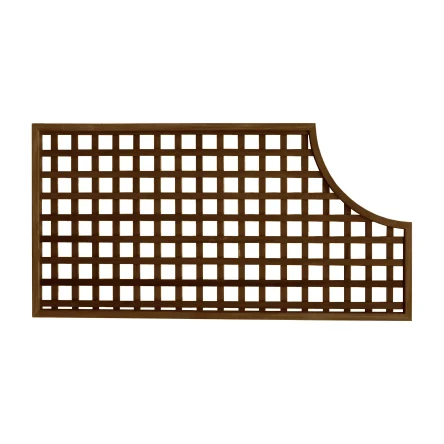
New products
The latest timber garden products from our store


 Corner Arch Panel Iroko")

Sign up to our newsletter
Get regular inspiration and be the first to know about special offers